How To Prune Orchids for Optimal Results in 2023
Last updated: 8 March 2024
Orchids are renowned for their beauty and varied shapes, yet they need appropriate pruning to ensure lasting, colorful blooms. Pruning promotes the well-being of the orchid and also brings forth more flowers.
Proper timing is essential when pruning orchids. There are also preparatory steps you need to take before you start pruning, as well as master techniques that are ideal for different parts of an orchid plant.
Determine the ideal time to prune orchids after blooming and identify unproductive growth. Gather the necessary tools, sterilize them, water plants before pruning, and use appropriate techniques for different parts of the orchid.
What we cover
Toggle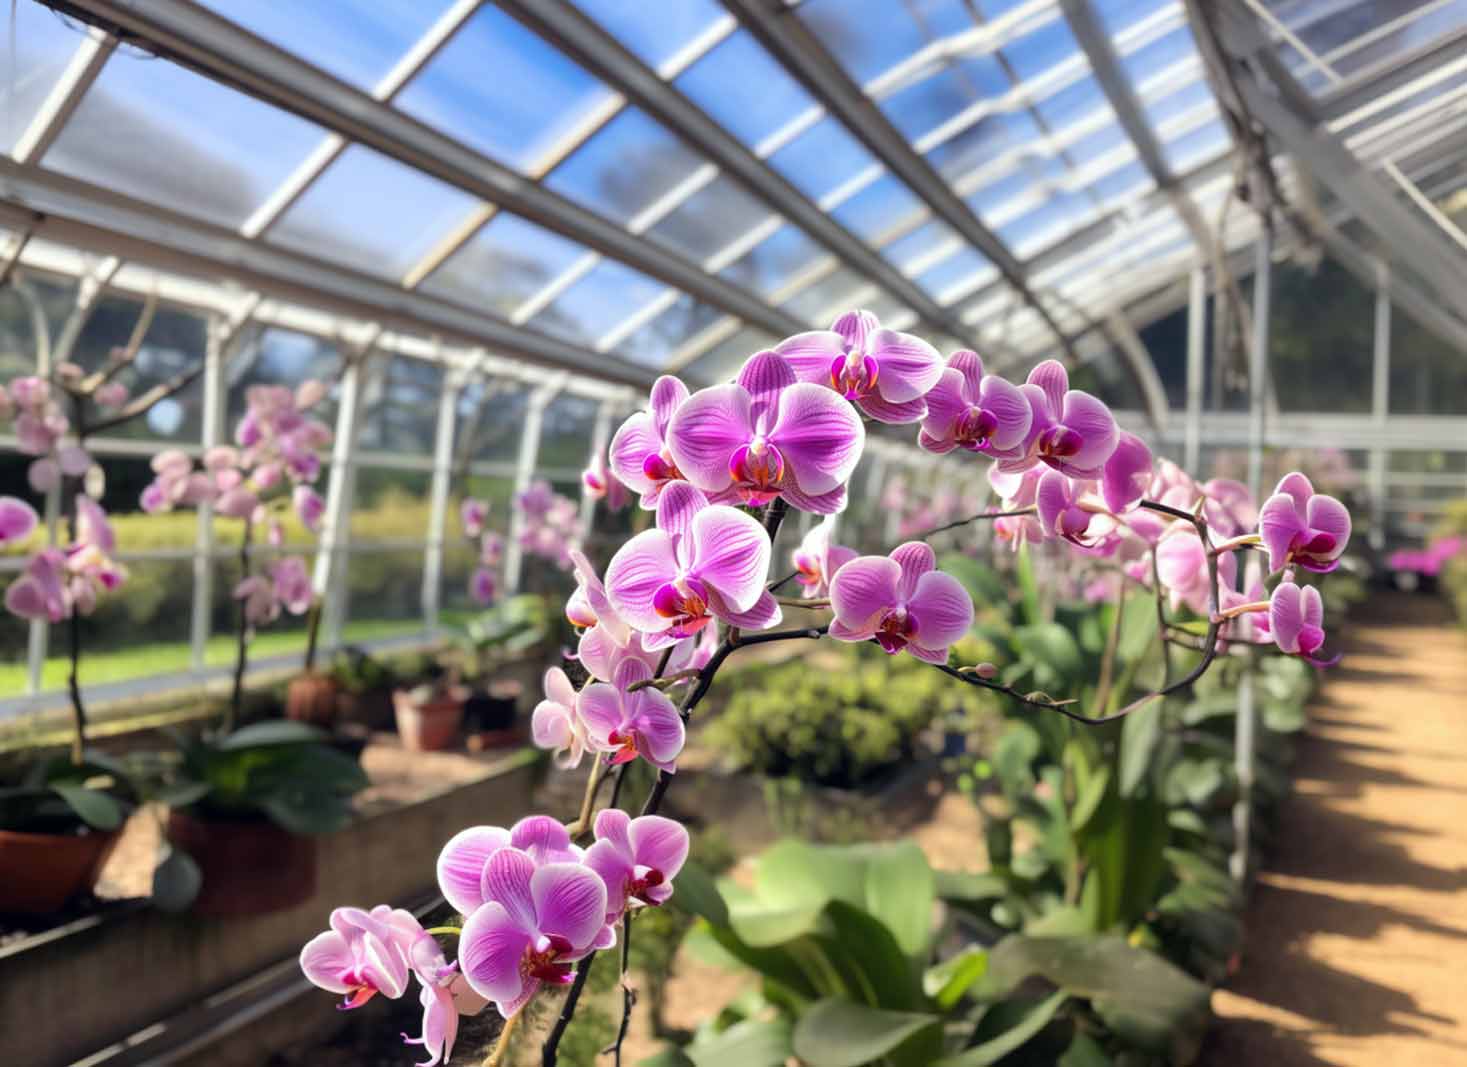
Particularly for the Dendrobium and Phalaenopsis orchid plants, pruning is an essential part of their care.
Before you prune phalaenopsis orchids, it’s best to wait until after your plant has completed its blooming stage—often during late autumn—and all the flowers have dropped off from the stem before trimming it back.
Keep a lookout for indicators such as underproductive growth and non-vitalized roots that may be discolored (e.g., brown) or very pale/mushy.
Before you begin pruning, it is important to recognize any unproductive growth or roots that need to be taken away. Cut out damaged or discolored rhizomes carefully without damaging them and treat them with a fungicide afterwards.
Also, while cutting back on unnecessary aerial roots, only keep the plump portions which are silvery green in color.
If there’s an entirely collapsed root, discard it completely, but consider treating cut areas with fungicide for extra protection if desired.
After your orchid has finished blooming, it’s important to prune any dead parts of the plant quickly to prevent fungus growth. If there are yellowed leaves, gently pull them away from the flower.
If they don’t come off easily, then you need to remove the entire leaf. Always make sure that when trimming anything with shears and scissors that they have been sterilized so no other illnesses can be spread across your blossoms.
Before beginning the pruning procedure, it is essential to make sure all tools are properly sterilized. To do this, thoroughly scrub each blade with hot water and soap then rinse off any remaining residue.
Non-coated equipment can be sanitized using either an alcohol lamp or gas stove flame when cooled down after use.
As part of assessing the plant prior to trimming your orchid, check for wilting/dried-out roots along with dead foliage and flower spikes in order to know what areas must be cut back correctly.
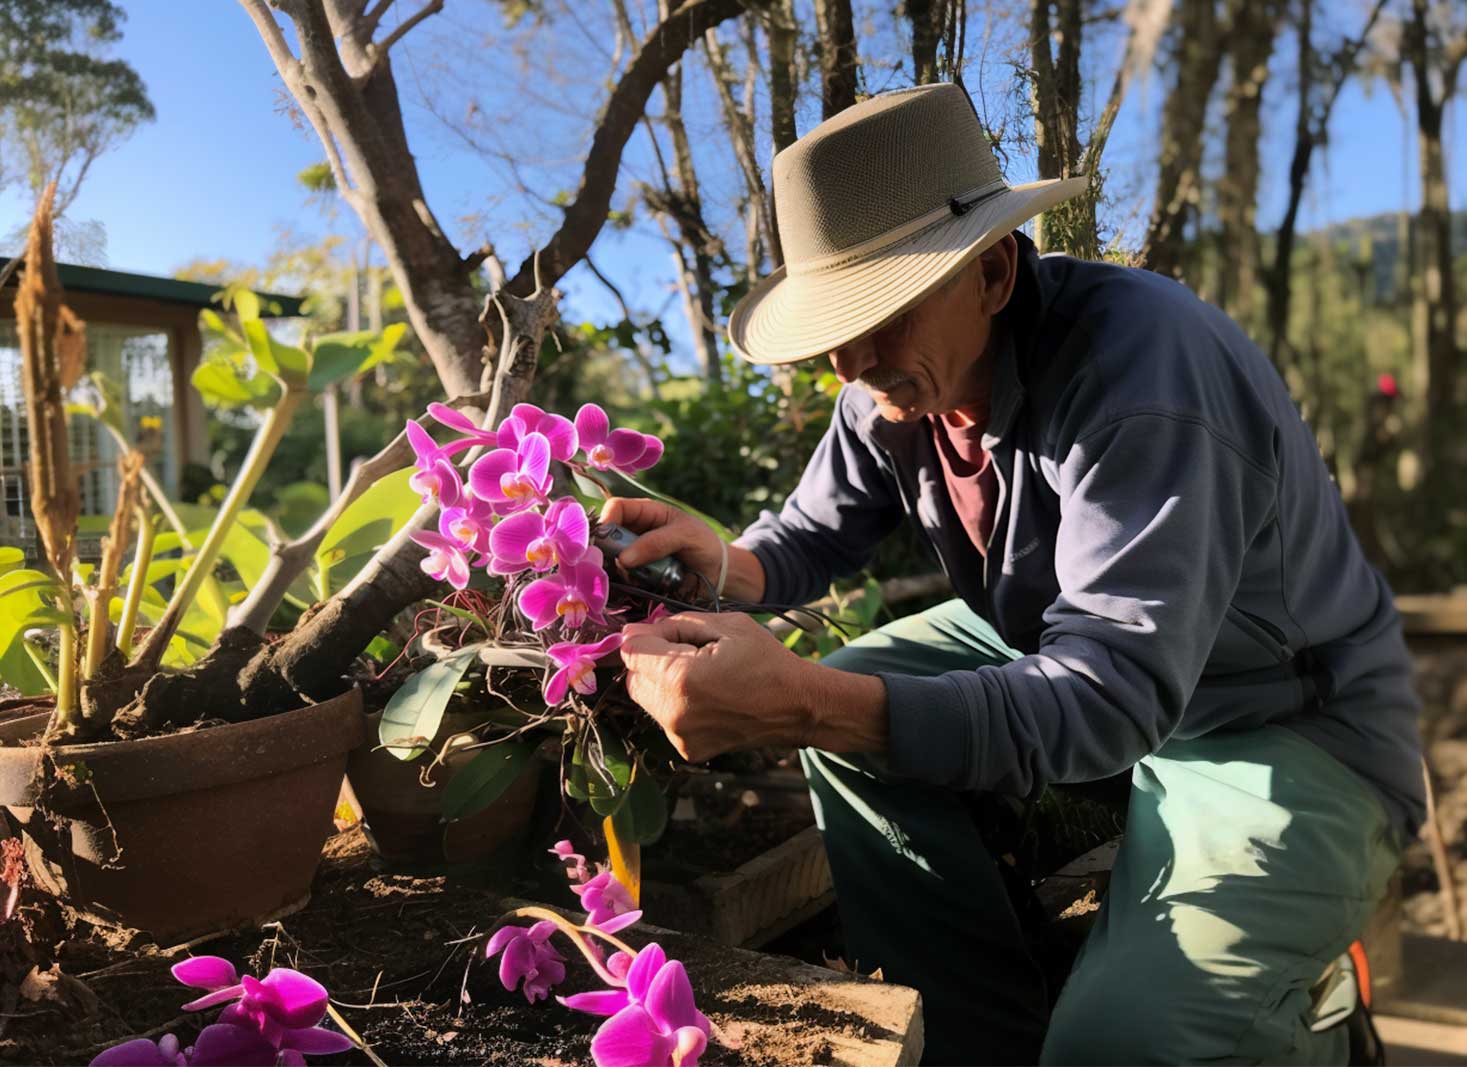
To take care of your orchids, you need the right tools. This includes pruning shears/scissors and Florist scissors for multi-purpose gardening snips.
Special secateurs are specifically designed to clip off dead blooms from plants like orchids that require precision cutting and finally hand saws best suited for pruning thick stems.
Prior to pruning an orchid, it is important to ensure that the plant has had adequate hydration. Doing this helps make the orchid’s roots more plump and easier to identify any areas needing trimmed or removed.
Giving extra moisture before beginning will help cushion the shock from the process on your beloved flower and set up a successful result with a flourishing bloom.
Once you have acquired your necessary supplies and prepped the orchid, it is time to begin specific pruning techniques according to the different parts of an orchid. Prune dead stems that are brown all the way down back into their roots – this technique applies to most types of this flowering plant.
When dealing with Phalaenopsis Orchids, cut off just above a node where flowers appeared previously (half an inch). Oppositely speaking, Dendrobium orchids must not get their stems snipped at all.
Instead take extra caution in removing them from any surrounding plants without cutting too much away.
When it comes to pruning orchids, the ideal time is when a node below the oldest and most faded flower becomes visible. Cut off spent flower spikes above the first set of leaves in the pseudobulb for new growth stimulation.
If no more buds are showing or if your orchid starts its dormancy period, then remove the entire flower spike but leave at least one inch on the stem attached still.
Optional spraying with a fungicide may help keep infections away while keeping healthy plant development as well.
When dealing with a damaged orchid leaf, look for signs of discoloration, wilting, lesions and spots. If only one part is affected, then trim it away. If most of the leaves show these symptoms, remove all the above its base on the plant.
Apply a fungicide to discourage infection and encourage new growth in that spot.
When it comes to pruning broken aerial roots, care must be taken when cutting back to the base of the plant so as not to damage any healthy tissue.
If all of a root has collapsed, take it away completely from its container ensuring that none of its structure is damaged in this process.
It should be remembered that these kinds of roots are an important part for nutrient and water absorption by plants.
Trimming them should only happen if absolutely necessary since dead tissues can’t serve their purpose anymore.
When dealing with orchids that have brown and shriveled roots, it is important to repot them in a fresh medium after pruning. This will help the plant recover from stress and promote new growth.
To ensure recovery for your plants, do not water them immediately afterwards. Giving a couple of days’ rest allows cuts to heal properly before encouraging additional health benefits through hydration.
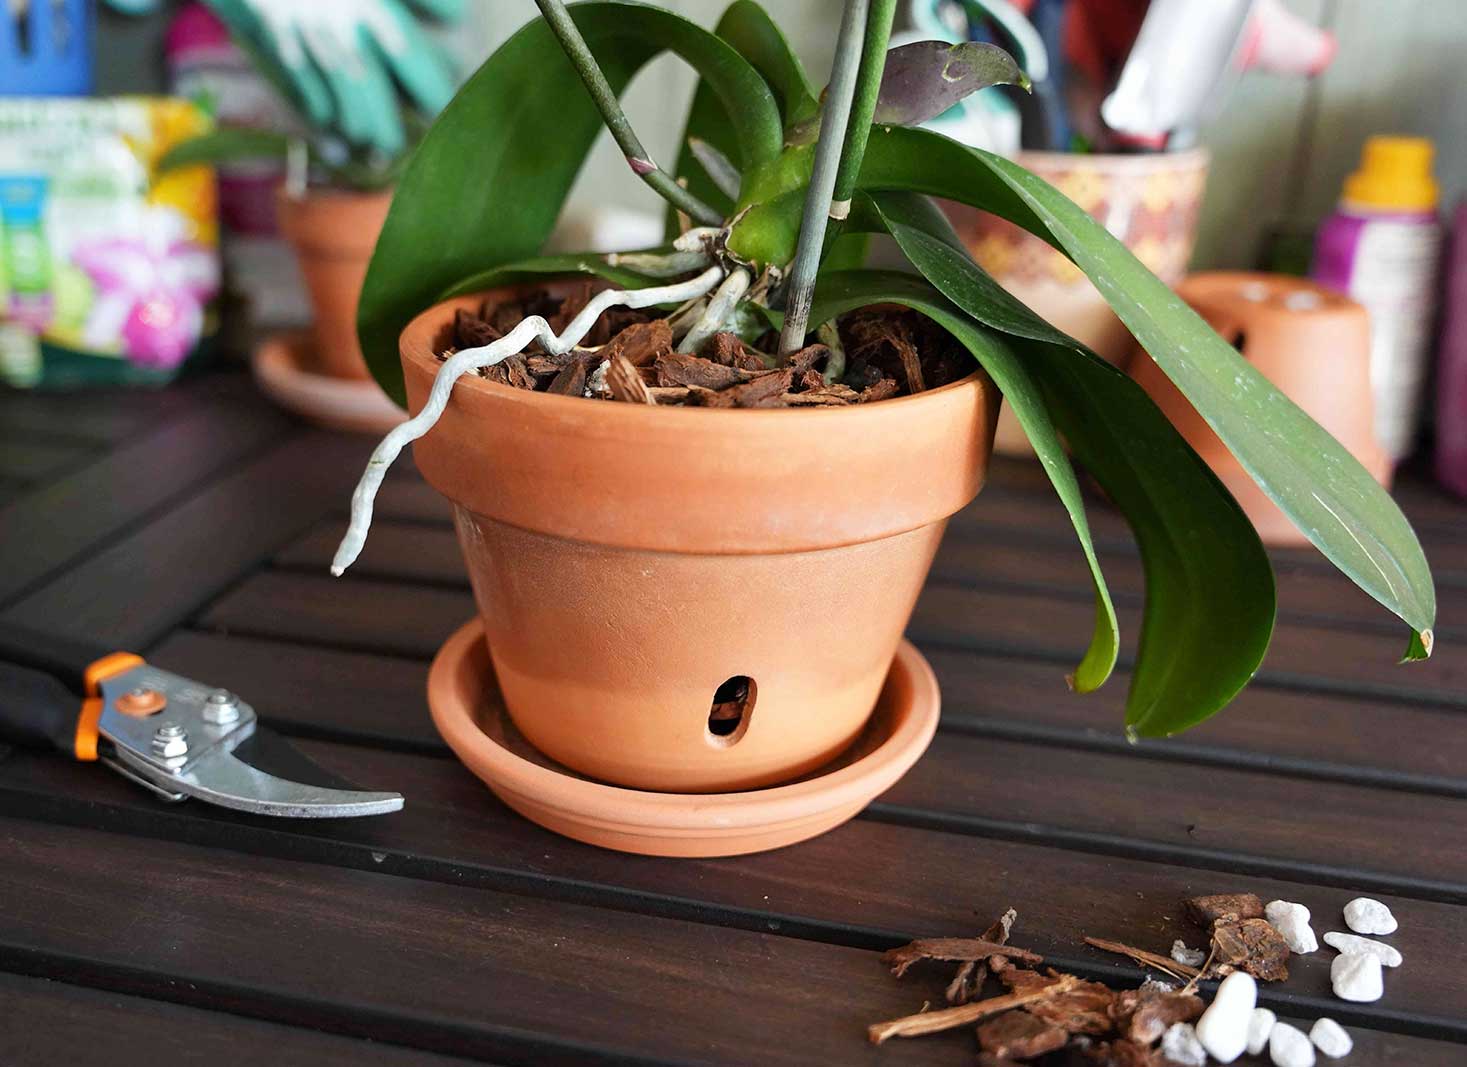
When it comes to your orchid’s health and growth, selecting the best pot size and medium is key. Opt for plastic pots with drainage holes/slits when possible as opposed to terra-cotta ones.
When you buy a new one, take into account its dimensions. With the root system of your orchid, make sure there’s enough room for expansion without being too big either.
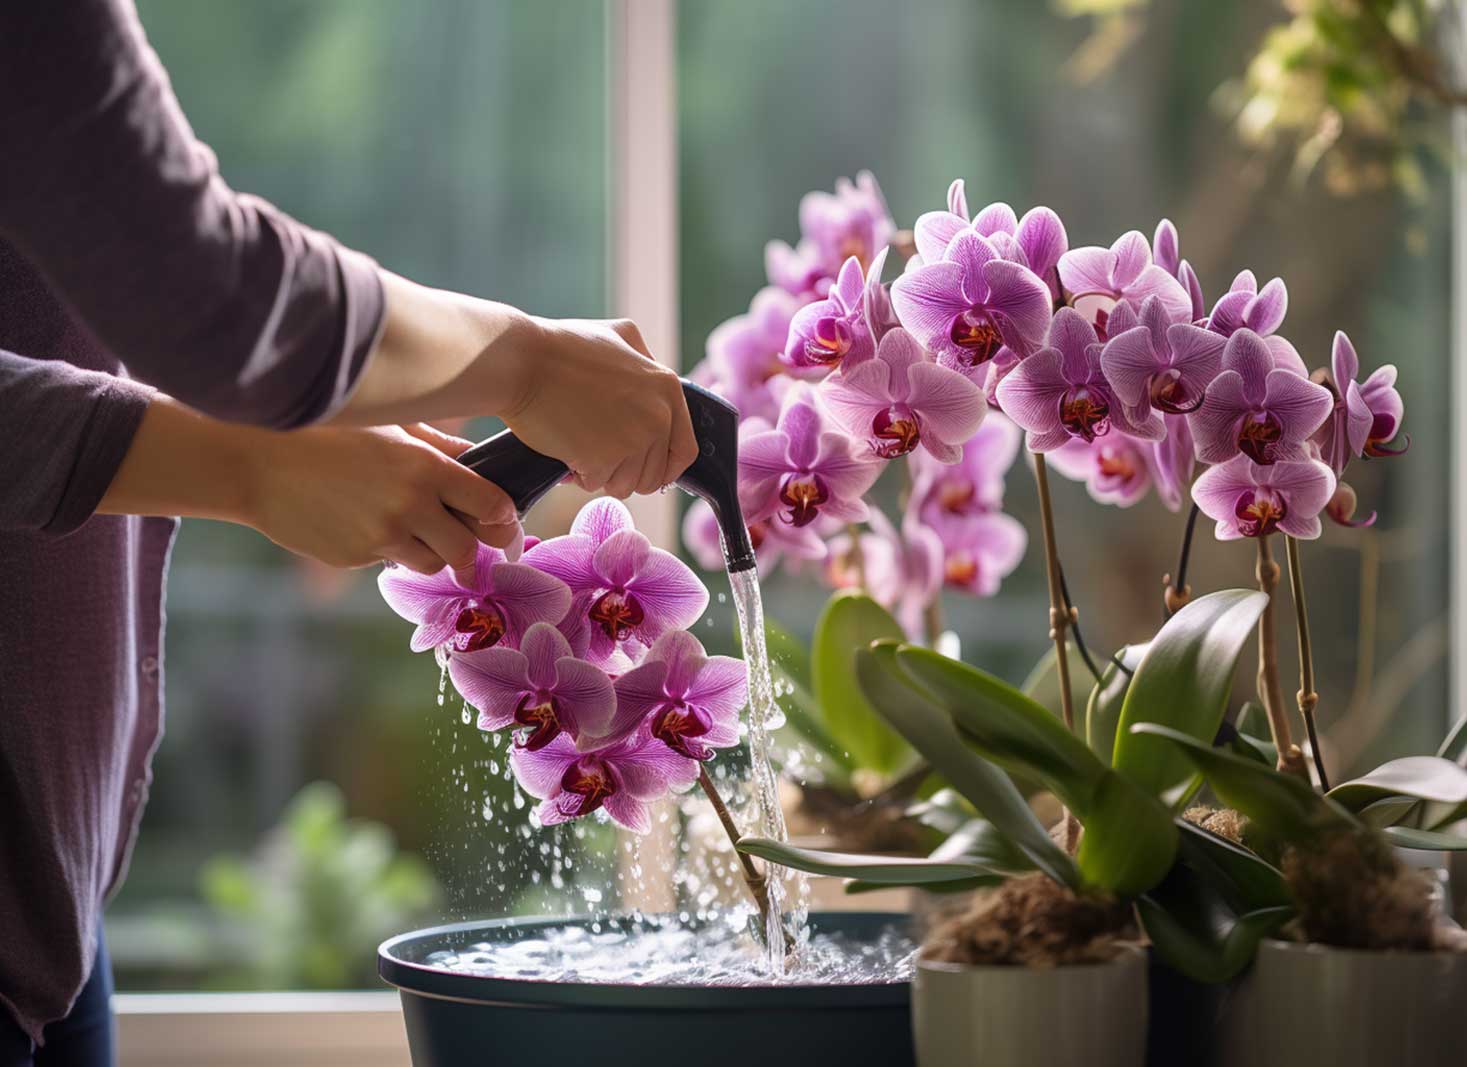
After pruning and repotting your orchid, it is important to handle the watering carefully for them to recover. As mentioned earlier, make sure there’s a few days’ gap between cutting and irrigating the plant.
This will aid in its recovery from the exhaustion caused by trimming.
Once that break has ended, restore regular watering habits but be mindful not to give too much water which could result in root rot among other issues.
During the rest period of orchids, it is important to modify the amount and rate of watering and fertilizing for their ideal recovery and overall well-being.
Orchids grown in bark should be irrigated usually within a range between 4-10 days depending on certain conditions such as the type of plant along with how soon its soil dries out.
As far as feeding goes, once per month when dormant (fall/winter) then every two weeks during the active growth season (spring/summer). It is strongly suggested that these plants receive fertilizer application.
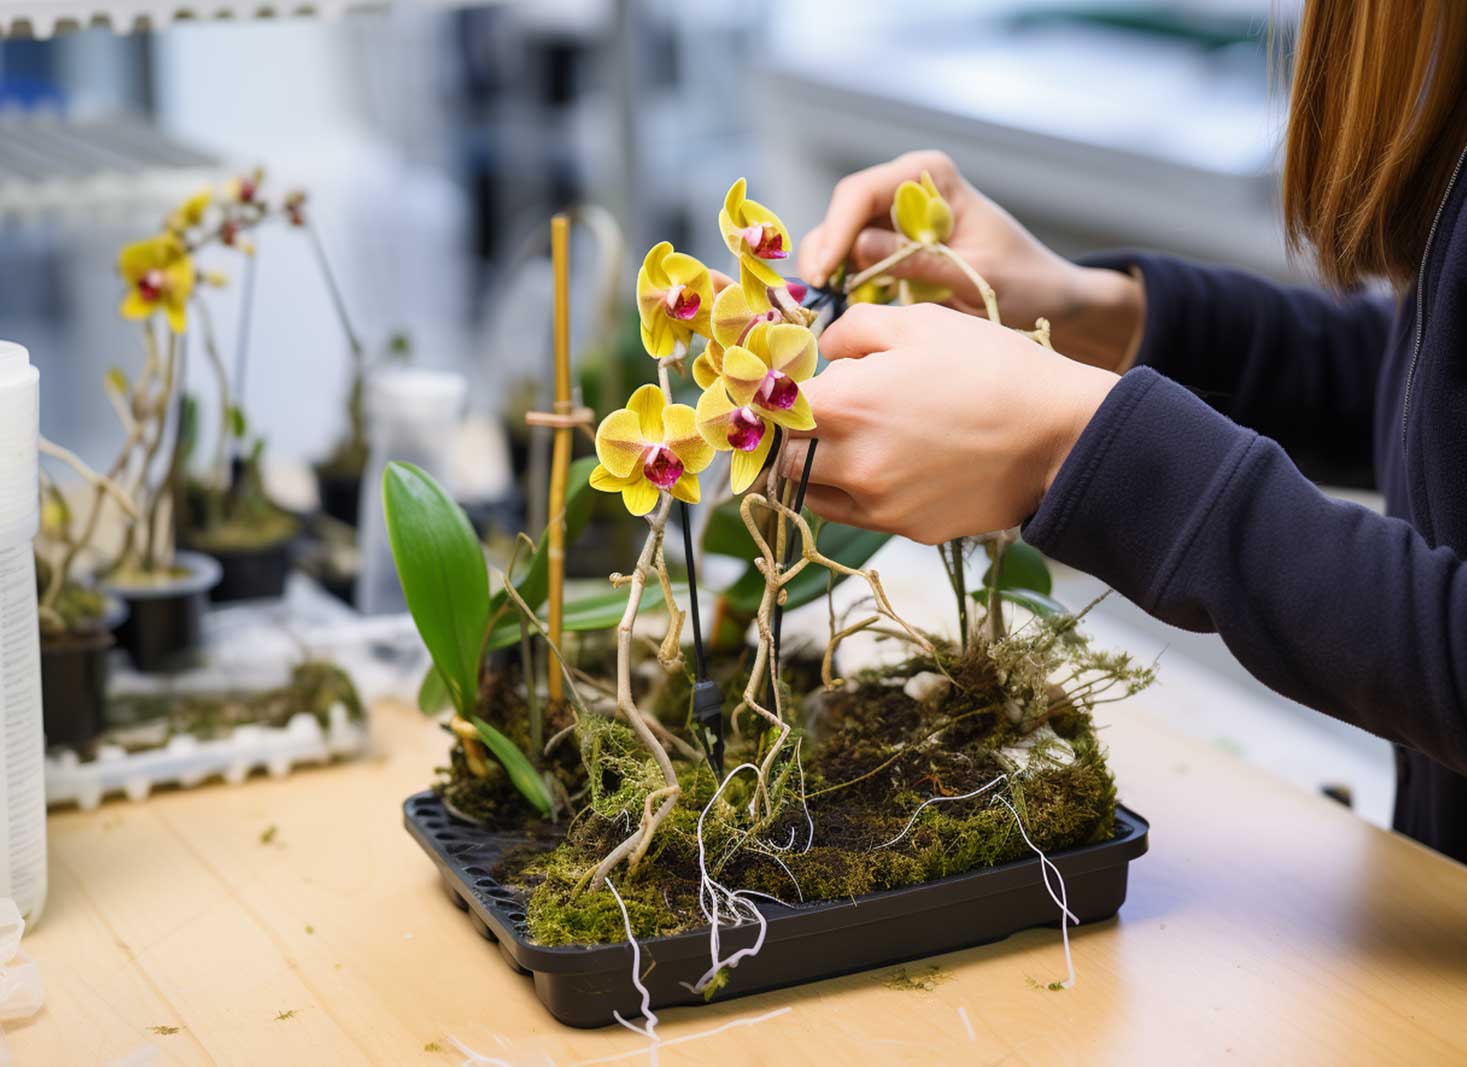
Sympodial orchids, such as Cattleya, Oncidium, Dendrobium and Cymbidium, require particular methods of pruning in order to guarantee their growth and wellness.
When repotting these plants for propagation purposes, the pot should be filled up towards its rim so that new shoots can come forth while flowers bloom at the center of the pot.
To ensure the health and beauty of sympodial orchids, it is important not to completely remove extra-long roots. Dry and dead roots should be trimmed with a sterilized knife or scissors.
An increase in aerial root production could suggest that the particular species requires repotting. Hence, managing trailing and long roots is essential for keeping your precious orchid safe from potential harm.
For those looking to achieve new growth and beautiful blooms from their sympodial orchid plants, it’s essential to either remove the spent bulbs or propagate them.
Deadheading of orchid flowers along with cutting out of flower stalks is a key element for removing used-up pseudobulbs.
When considering propagation, consider the following:
Many orchids will naturally replicate through offsets, bulbils and seeds – whilst other types may necessitate more human interaction for successful reproduction such as chipping, scaling & scooping techniques.
By working at culling dead flora while propagating replicas accordingly, healthy ornamental species should prosper when it comes time for renewal amongst your sympodial blooms.
When it comes to pruning orchids, newbie growers may become confused by the terminology. To make sure they successfully complete this task, some clarification is necessary in order to dispel any misunderstandings.
Inflorescences (also known as racemes) are elongated stems that display flowers while corms/pseudobulbs store water and nutrients for the plant’s growth.
Gaining an understanding of flower spikes and pseudobulbs is essential for successful orchid care. This avoids confusion between the two different plant parts, as flower spikes are typically thinner than pseudo bulbs.
Orchid roots, which can be easily confused with a spike-like structure, should also be identified correctly to ensure proper pruning techniques are applied when caring for them.
Orchids may have yellow roots due to overwatering, these will be noticeably mushy or desiccated. To treat this issue, prune back the damaged parts and apply a fungicide on it for prevention.
Increasing humidity around aerial roots with sphagnum moss is also recommended as part of the treatment process.
In case of sympodial orchids which consist of large clumps composed mostly of yellowish bits, then you must spray them with hydrogen peroxide and replant them using a less dense soil mixture.
To guarantee the well-being of orchids, pruning should begin at the flower bloom that is situated lowest and snip 1 inch above its node located on an orchid spike.
In cases where there are unhealthy brown spikes present, it would be best to clip back all the way down to the base of a plant. Also, in double-spike orchids, one must cut right off from their rootstock for efficient results.
When pruning orchids, it is best to wait until the flowers have wilted before snipping back any stems.
To ensure healthy growth, cut off brown parts of the stem all the way down to soil level during cooler times like fall in order for reblooming chances to increase.
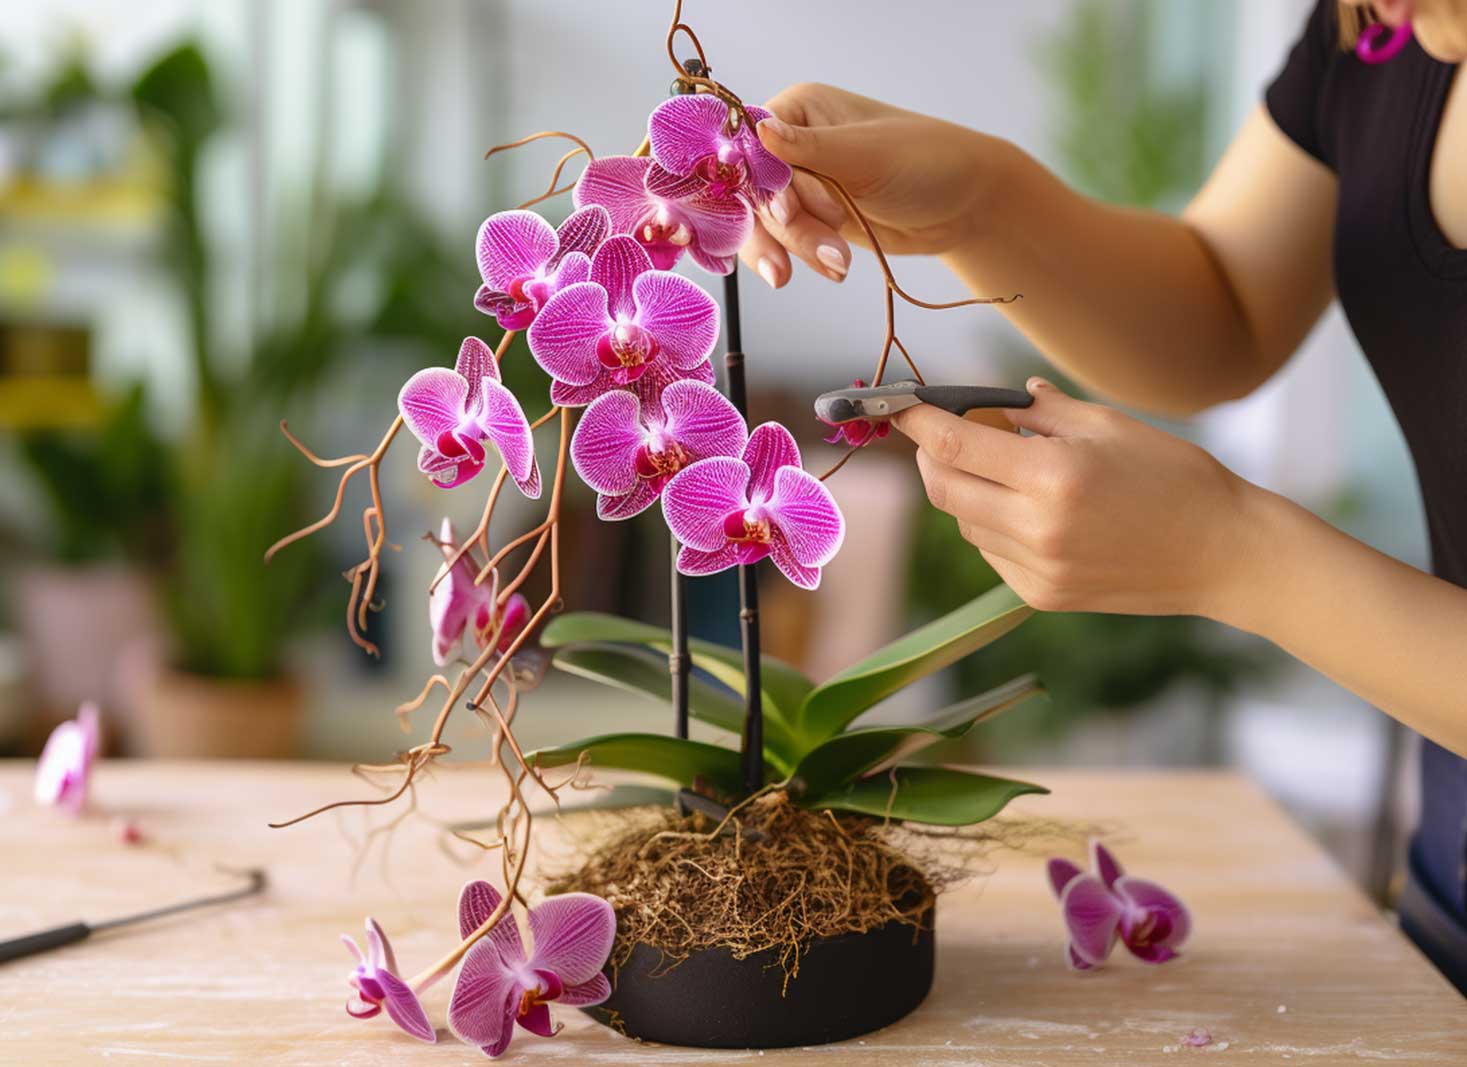
After your orchid blooms, it is important to prune them properly. Utilizing a sharp and clean pair of scissors, carefully cut back the flowers directly into their primary stem in order to encourage healthy growth and new blossoming later on.
Keeping your plant trimmed not only helps its aesthetic but can benefit future floral production as well.
Once your orchid has finished flowering, it is important to prune the plant back by one inch above where its lowest bloom was for best results. If the flower’s spike is green in color, cut at that spot.
On brown spikes, trim them right down to the base of the plant. With double-spike orchids, you only need to snip away one stem.